Microsoft is investing a lot in its DR solution Azure Site Recovery. The newest public GA announcement is about the DR scenario on-premises to Azure. Since mid-December 2014 Azure Site Recovery does not rely anymore on VMM to enable the on-premises to Azure scenario. All you need is a Hyper-V host or cluster and an Azure subscription. As of today Azure Site Recovery covers the following DR scenarios.
- On-premises VMM site to Azure
- On-premises VMM site to another on-premises VMM site
- On-premises Hyper-V site to Azure (New)
- On-premises VMware site to another on-premises VMware site
- On-premises VMM site to another on-premises VMM site (SAN replication scenario)
Let us walk through the setup of Azure Site Recovery in a Hyper-V site. I assume that you are familiar with Azure and that you have created a storage account, a virtual network and a recovery vault in advance, because we will need that.
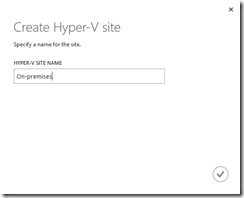
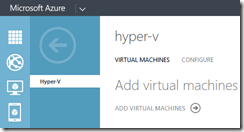
In the recovery vault go to Servers –> Hyper-V sites and click on create Hyper-V site. Enter a name and go for it.
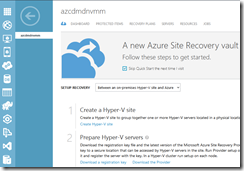
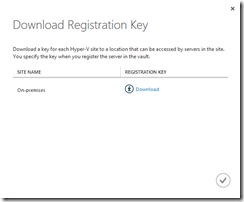
Then you have to go back to the dashboard view to download the registration key and the Azure Site Recovery provider.
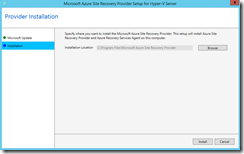
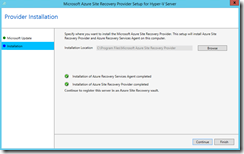
For a functional on-premises to Azure DR solution you have to install the ASR provider on your standalone Hyper-V host or on each node in your Hyper-V cluster!
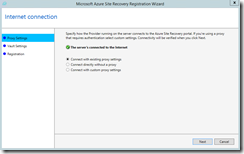
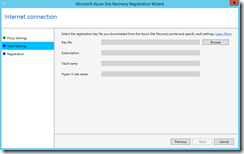
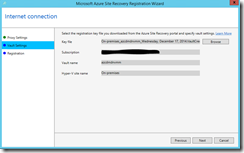
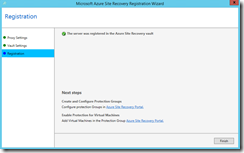
After the installation you register your Hyper-V hosts with the recovery vault. You enter the appropriate proxy settings, select the registration key which was downloaded previously and the registration is done.
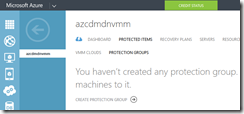
Now you go back to the Azure portal and into the Protected Items section. As you can see beside the VMM Clouds we now have the Protection Groups for our Hyper-V sites.
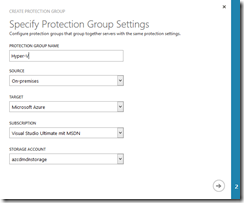
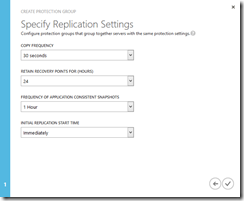
Click on create protection group to configure the replication settings. First give your protection group a name and select a Hyper-V site as a source. Also select a storage account where your replicated VMs will be stored in Azure. In the next section you define the replication settings.
At this point the protection group is configured successfully and you can now add VMs to it that should be protected by Azure Site Recovery.
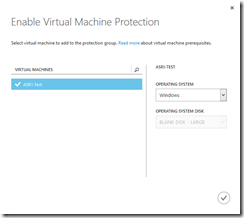
To do so click on the protection group and add VMs to it. You have to define the operating system of your VM. It can be Windows or Linux.
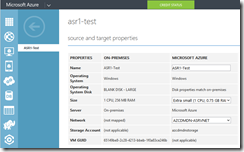
After you added the VM to the protection group you have to define the Azure virtual network for the VM. Just click on the VM and you will see the configuration settings. There you can define another name for the VM in Azure, select a different VM size and a virtual network. Azure Site Recovery will choose the best VM size for your VM in Azure based on CPU count and memory size. But Azure Site Recovery will not set a virtual network for the VM you have to do it!
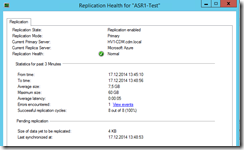
Last but not least have a look into the Hyper-V Manager or Failover Cluster Manager. As you can see in the Replication Health view everything runs as expected and from an on-premises view you cannot see any difference between an on-premises to on-premises or an on-premises to Azure solution.
With the on-premises Hyper-V site to Azure option Azure Site Recovery is not only a solution for enterprise customers anymore. Microsoft takes a huge step forward with that option for DR solutions in the SMB market and also for a DR solution at branch offices!

