Sometimes it might be that you need to downgrade the Linux kernel on an Azure Ubuntu VM.
Especially when you use Azure Site Recovery for BCDR. As the ASR agent has a slight delay on supporting the latest Linux kernel versions.
Ubuntu was one of the first Linux distributions offering an Azure-optimized kernel. Since then the Azure-optimized kernel has been the default one for Ubuntu VMs on Azure installed by the official Azure Marketplace images.
The first step is to identify the necessary packages that you need to install. This is done by executing the following command.
> sudo apt search linux-azure | grep 5.3.0-1009-azure
Afterward, you know which packages need to be installed.
> sudo apt install linux-image-5.3.0-1009-azure \
linux-tools-5.3.0-1009-azure \
linux-cloud-tools-5.3.0-1009-azure \
linux-headers-5.3.0-1009-azure \
linux-modules-5.3.0-1009-azure \
linux-modules-extra-5.3.0-1009-azure
In the next step, the actual kernel gets removed.
As I did my demo with Ubuntu 18.04 on Azure, I experienced that it is required to add the unsigned kernel image package to the removal list. Otherwise apt installs it during the removal process of the actual kernel.
> sudo apt remove linux-headers-5.4.0-1025-azure \
linux-image-5.4.0-1025-azure \
linux-image-unsigned-5.4.0-1025-azure
During the process, you confirm with <No> that you do not want to abort the removal process.

As the last step, you initiate a reboot with sudo reboot.
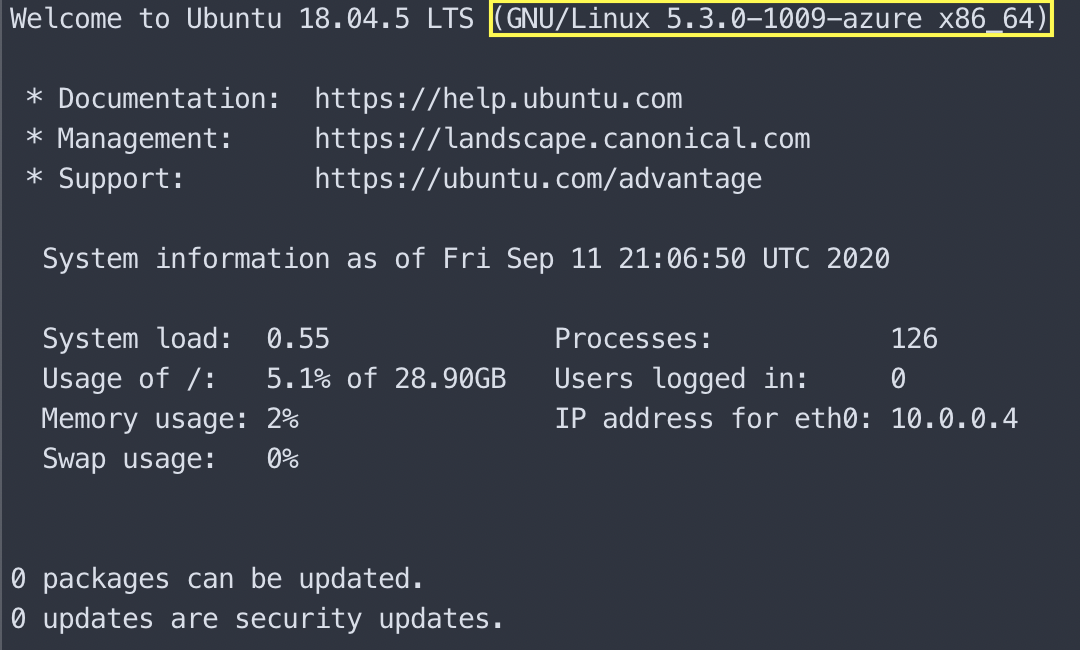
The welcome screen should now state the target kernel version.