In the first blog post of this series I have given you an overview of the InMage Scout architecture. In this blog post I will show you how to set up the protection for a Windows Server VM.
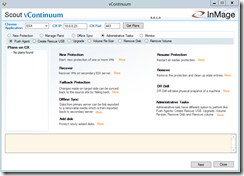
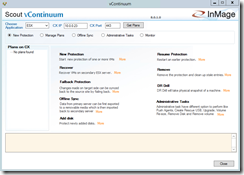
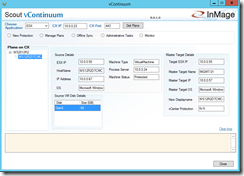
After you have successfully installed your Windows Master Target start the vContinuum console.
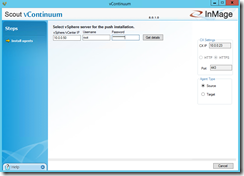
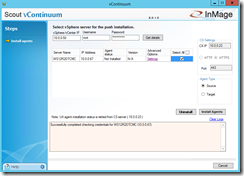
Navigate to Administrative Tasks and click on Push Agent. A new window will come up where you have to enter the IP address of your ESXi host or of your vCenter server and the credentials. Select Source as Agent Type and click on Get Details.
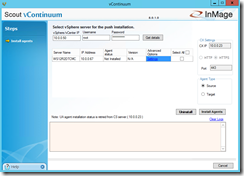
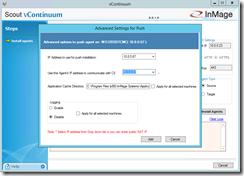
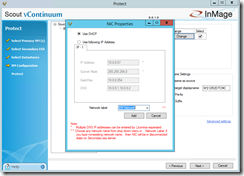
Afterwards you should see the VMs on the ESXi host and you can select your Windows Server VM for the push agent installation. Under Advanced Option you can define which IP address the Windows Server VM should use for communication with the Configuration Server.
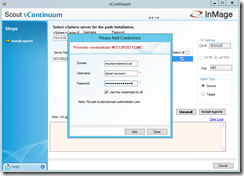
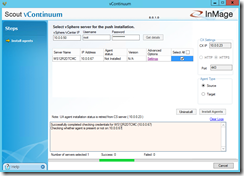
Select the VM you want to protect in the column Select All. A new window pops up asking for administrator credentials. After hitting Add InMage Scout runs a check if it is possible to connect to the VM with the provided credentials.
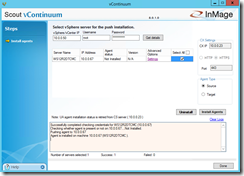
If the check returns a success event you can now click on Install Agents to initialize the push agent installation process.
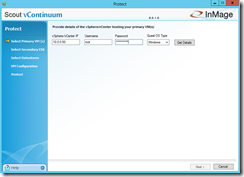
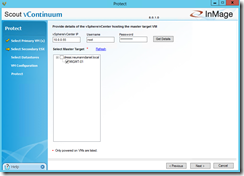
After the successful agent installation on your Windows Server VM click Done and then New Protection in the vContinuum console. A new window will come up where you have to enter the IP address of your ESXi host or of your vCenter server and the credentials. Select Windows as Guest OS Type and click on Get Details.
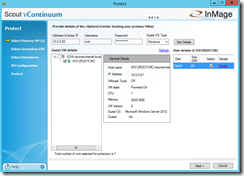
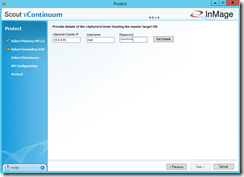
Afterwards you should see the Windows Server VM on the ESXi host and you can select the disks of the VM you want to protect. It is possible to select several VMs at this step. On the next page enter the IP address of your ESXi host at the DR Site or of your vCenter server and the credentials. Click on Get Details.
Afterwards you should see the Windows Master Target on the ESXi host and you can select your Windows Master Target that you want to use for the protection of the Windows Server VM.
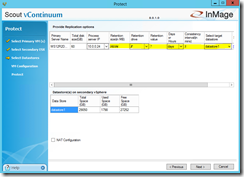
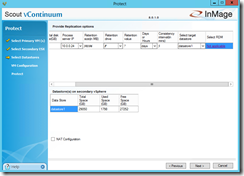
Under Select Datastores you define all the settings that are required for the protection. First of all select the correct retention drive. Then you can define the retention value in days or hours. I would recommend to use days. Before you calculate the retention size and enter it you should choose the consistency value. Depending on the workload requirements you can enter different values for different VMs. My recommendation would be 5 minutes. The lowest value you can enter is 2 minutes.
The retention size can be calculated in two ways. It is the same procedure as for the size of the retention volume on your Master Target. First one is change rate in GB * retention range in days. Second one is source disk sizes * change rate in percentage * retention range in days.
- 4,2 GB * 7 days = 29,4 GB
- 60 GB * 0,07 * 7 days = 29,4 GB (0,07 = 7%)
Before you proceed select the right datastore that provides enough free space for the Windows Server VM. If you have more than one Process Server you can select one of them in the column Process server IP.
As you can see the VM does not have any Raw Device Mapping disks. But you can protect VMs with VMDKs and / or RDMs.
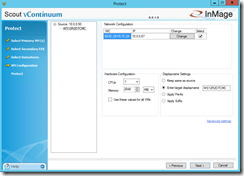
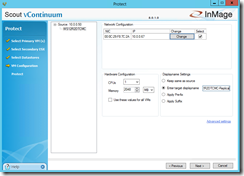
In the VM Configuration section you can set the hardware and network configuration settings for the Windows Server VM at the DR site.
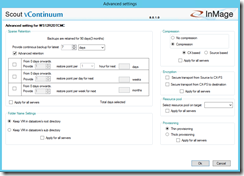
You can also define the display name and set additional advanced settings for the protection. Per default all data will be compressed but not encrypted and the Windows Server VM disks will be thin provisioned on the DR site.
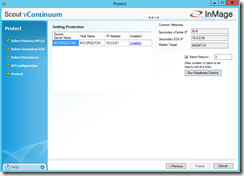
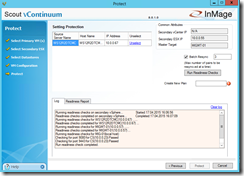
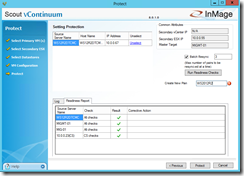
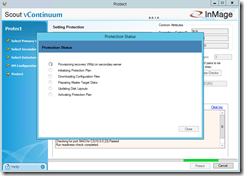
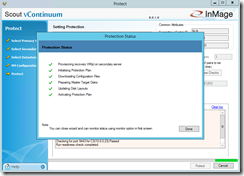
Before you can start the protection you have to run some readiness checks under the the section Protect. If the checks complete successfully define a name for the protection plan. For more details about the readiness checks click on Readiness Report. Now you can click on Protect to start the final configuration processing.
When one of the steps during the final configuration processing fails you can directly jump into the log via a link to get more details about the failure.
You need more information about the protection plan? Click on the VM under the protection plan in the vContinuum console.
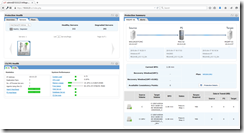
After the successful protection activation go back and log in into the management portal. In the management portal click on Servers under Protection Health and select the Windows Server VM. On the right site under Protection Summary click on Protection Details.
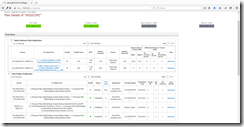
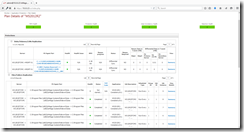
You can see the actual protection status for each replication pair. The initial replication consists of two steps Resyncing (Step I) and Resyncing (Step II). You can see this in the column Status under Disks/Volumes/LUNs Replication. The initial replication is completed after the status changed to Differential Sync. As you may discover at the top of the page Data Consistency Health and Retention Health changed from grey to green.
The next blog post will be about the Linux Master Target Installation.
