In the first blog post of this series I have given you an overview of the InMage Scout architecture. For a short recap of what the Configuration Server is read the following lines.
The Configuration Server is the central component of every InMage Scout installation and it is the first component you have to install. You use the Configuration Server for management, configuration and monitoring of the whole InMage Scout installation either through the management website or the vContinuum console. As a best practice you should install the Configuration Server at your secondary site. You can have only one Configuration Server in your InMage Scout Installation. The Configuration Server also includes the Push Install service for the remote deployment of the Unified Agent.
Before you start with creating the VM for your Configuration Server have a look at the Microsoft best practices for sizing the Configuration Server and the supported OS.
|
Number of Replication Pairs |
CPU |
Memory |
Boot Volume Capacity |
NICs with 1 Gbit/s |
| <= 300 | 8x vCPUs | 8 GB | 100 GB | 1x |
These values are best practices by Microsoft. You can use lower values for your VM except of the Boot Volume Capacity. But I highly recommend to use the best practices values. If you have more than 300 Replication Pairs Microsoft recommends to deploy a new Configuration Server. What are Replication Pairs? Replication Pairs are the connections between your source VM and Master Target VM. So for each partition exists one replication pair.
Windows Server 2012 R2 is the only supported OS for running the Configuration Server.
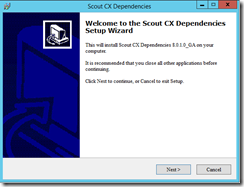
After you have successfully set upped the VM for your Configuration Server you have to install the dependencies first. The name of the setup file is InMage_CX_TP_8.0.1.0_Windows_GA_26Feb2015_release.exe.
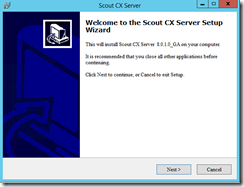
After the dependencies has been installed successfully move on with the Configuration Server installation. The name of the setup file is InMage_CX_8.0.1.0_Windows_GA_26Feb2015_release.exe.
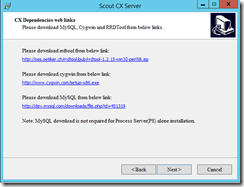
Before you move on with the installation you have to download the prerequisites. Use the links in the setup to download the exact versions of the required software packages.
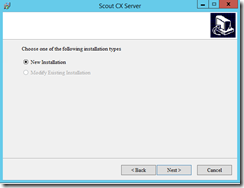
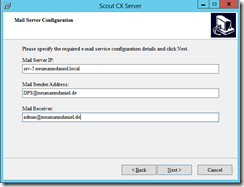
Select new installation and enter the details for the notification service.
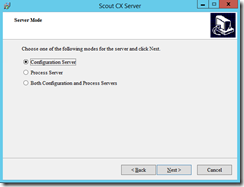
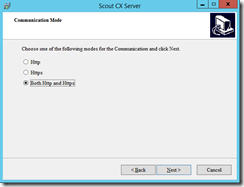
Select Configuration Server and on the next page http and https. If you want you can only select http or https. But keep that in mind that you have to remember this selection for the other installations of the Process Server and the vContinuum server.
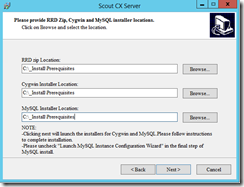
Specify the folders where you have saved the installation files of the required software packages.
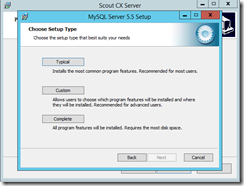
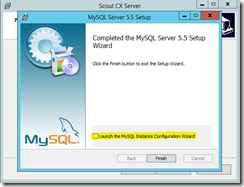
For the MySQL installation select typical and unselect “Launch the MySQL Instance Configuration Wizard” before you click Finish. That is important because the Configuration Server setup will configure the MySQL Instance.
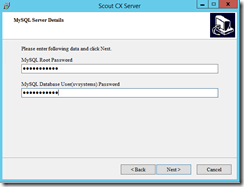
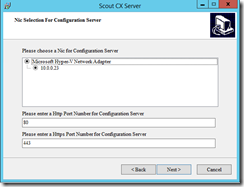
Set the password for the MySQL server and specify the NIC & the ports which the Configuration Server should use.
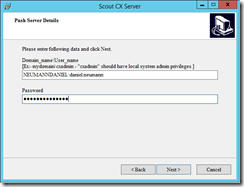
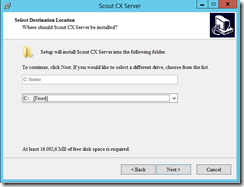
Last but not least you have to enter the username & password for the Push Server and define the installation folder. You can only change the drive for the installation folder but not the name itself. After clicking Next the Configuration Server will be installed.
The next blog post will be about the Process Server installation.
